
What do you think about creating an Android/IOS App + a web page + a Windows application with the same code and without much effort? Does it sound like a dream? Guess what… Some dreams may just come true. This document covers upgrading to Flutter 2.0 and creating all types of apps with the same code.
So, what is Flutter?
Here is a short description about Flutter, taken from The Flutter thing website (https://theflutterthing.wordpress.com/):
“Flutter is an Open-source development kit created by Google that provides ways of creating Apps on a specific programming language — Dart — that is converted and compiled on native language. At the time, it is possible to develop Android, iOS, Windows, Mac, Linux, Google Fuchsia and Web Apps.”

And what is the big deal with Flutter 2.0?
Since March 3, 2021, Flutter 2.0 was officially released and brought some good news. It allowed Flutter developers to create mobile apps for Android and IOS devices, as well as web and desktop applications, using the same code.
Flutter 2.0 also brought the Sound null safety concept to the Dart code:
· All variables are considered as non-nullable, unless we configure it so they are, so variables are not null by default.
· When migrating from older versions, we can choose what to migrate as non-nullable
· Since we have something that is non-nullable and we know shouldn’t be nullable at all, we can enable compiler optimizations with the known facts, discarding the nullable-related commands for faster execution of our application.
Talk is good! How can we put it into action?
To explain how to create a simple app, we will be using the Visual Studio code on Windows. We assume we have Flutter 1.XX version installed and we need to upgrade it to Flutter 2.0.
To complicate things a little more, but to explain how this is simple, we will create a new app on Flutter 1.XX and then migrate it to Flutter 2.0, and create a web and a Windows app.
Step 1: Create a new Flutter Project
Our short journey starts on Visual Studio Code. Accessing Command Palette, we will need to create a new Flutter Application Project.

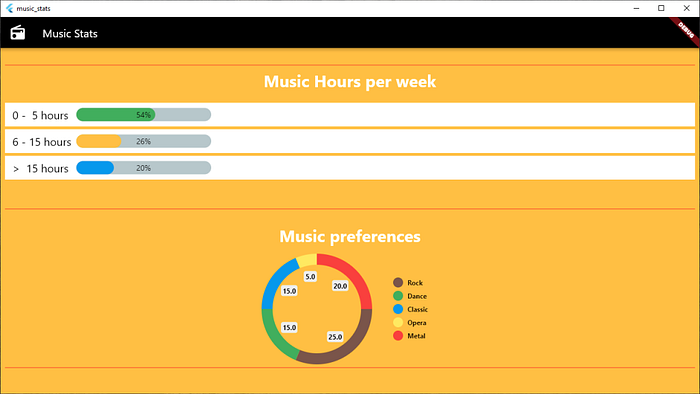
I am a big music fan so, we will create an App that tracks weekly time spent listening to music and also the music preferences on a selected set of listeners. We will call this project music_stats.
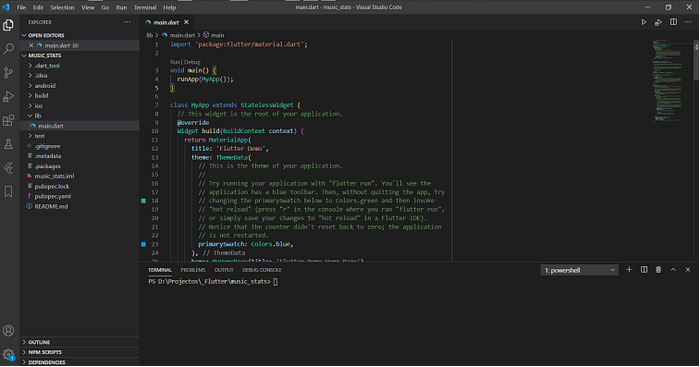
After the creation of the project, our Visual Studio Code will look like this:
The next step is to change our app content.
Step 2: Change our app content
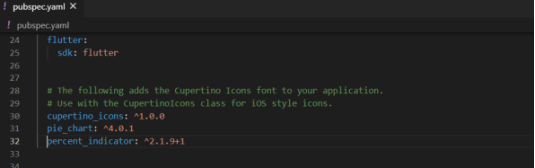
To create some interesting charts, we will use 2 packages:
· percent_indicator from https://pub.dev/packages/percent_indicator
· pie_chart https://pub.dev/packages/pie_chart
We will need to add them to the pubspec.yaml file.
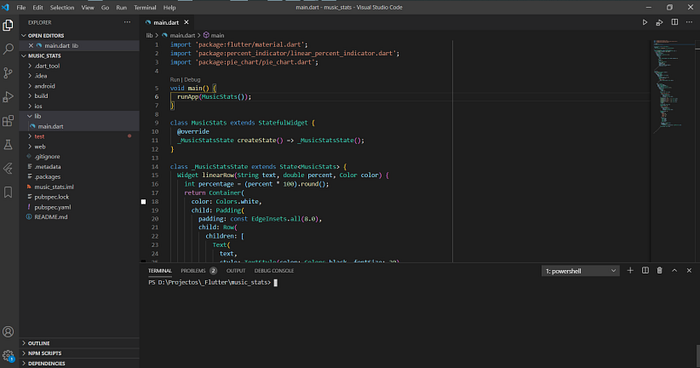
After running the flutter pub get command, we are OK to continue on the main.dart file and change the app content.
Here is the code for the file:
import ‘package:flutter/material.dart’;
import ‘package:percent_indicator/linear_percent_indicator.dart’;
import ‘package:pie_chart/pie_chart.dart’;void main() {
runApp(MusicStats());
}class MusicStats extends StatefulWidget {
@override
_MusicStatsState createState() => _MusicStatsState();
}class _MusicStatsState extends State<MusicStats> {
Widget linearRow(String text, double percent, Color color) {
int percentage = (percent * 100).round();
return Container(
color: Colors.white,
child: Padding(
padding: const EdgeInsets.all(8.0),
child: Row(
children: [
Text(text,
style: TextStyle(color: Colors.black,
fontSize: 20)),
SizedBox(width: 10),
LinearPercentIndicator(
width: 240.0,
lineHeight: 24.0,
percent: percent,
center: new Text(“$percentage%”),
progressColor: color),
]),
),
);
} @override
Widget build(BuildContext context) {
return MaterialApp(
home: Scaffold(
appBar: AppBar(
backgroundColor: Colors.black,
title: Row(
children: [
Icon(Icons.radio, size: 30),
SizedBox(width: 30),
Text(‘Music Stats’,
style: TextStyle(color: Colors.white))
],
),
),
body: Container(color: Colors.amber,
height: double.infinity,
child: SingleChildScrollView(
child: Padding(
padding: const EdgeInsets.all(8.0),
child: Column(
children: [
SizedBox(height: 15),
Divider(color: Colors.red),
Text(‘Music Hours per week’,
style: TextStyle(color: Colors.white,
fontSize: 30,
fontWeight: FontWeight.bold),
),
SizedBox(height: 20),
linearRow(‘ 0–5 hours ‘, 0.54,
Colors.green),
SizedBox(height: 5),
linearRow(‘ 6–15 hours’, 0.26,
Colors.amber),
SizedBox(height: 5),
linearRow(‘ > 15 hours ‘, 0.20,
Colors.blue),
SizedBox(height: 45),
Divider(color: Colors.red),
SizedBox(height: 20),
Text(‘Music preferences’,
style: TextStyle(
color: Colors.white,
fontSize: 30,
fontWeight: FontWeight.bold),
),
SizedBox(height: 15),
PieChart(
dataMap: {
“Rock”: 25,
“Dance”: 15,
“Classic”: 15,
“Opera”: 5,
“Metal”: 20,
}, colorList: [
Colors.brown,
Colors.green,
Colors.blue,
Colors.yellow,
Colors.red
],
chartType: ChartType.ring,
chartRadius: 180,
legendOptions:LegendOptions(
legendPosition: LegendPosition.right
),
),
Divider(color: Colors.red),
],
),
),
),
),
),
);
}
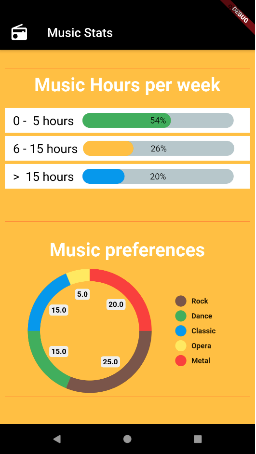
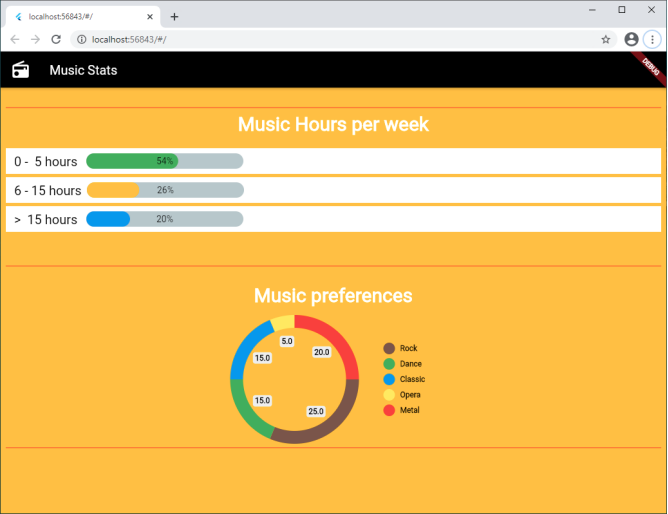
}Step 3: Build and run the App
Et voilà, when we run our app, it will look like this:
The next step is to upgrade the Flutter version.
Step 4: Upgrade from Flutter 1.XX to 2.0.
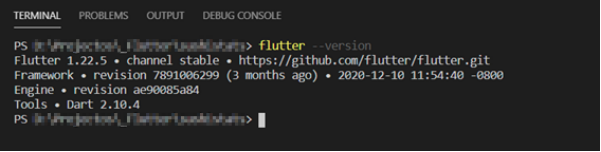
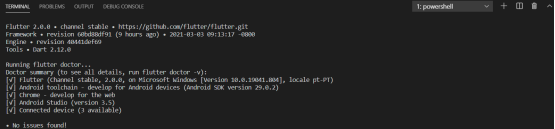
To check the current Flutter version, we need to run the flutter — version command on a Terminal Window. It will look like this:
To upgrade from Flutter 1.XX to 2.0, we will need to run the flutter upgrade command, also on a Terminal Window.
While installing, we will see something like this:

And also, like this:

At the end, we will see something like this:
Step 5: Create the web app
Now, here is where the magic starts. To create a web app based on the code we already entered for the mobile app, we just need to do a simple step on Visual Studio Code:
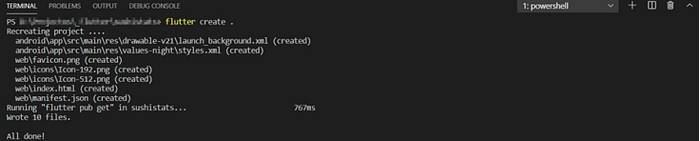
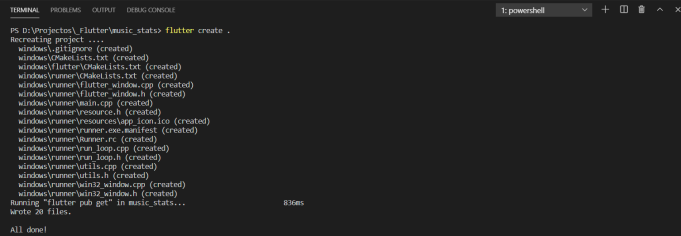
· Access a Terminal Window and run the flutter create . command (don’t forget the . (dot) on the command as it relates to the current folder.
The result will be something like this:
And in our project, we will see a new folder named web. This folder already has an index.html file, as other needed files to run the web app.
To run and debug the web app, we will need to access the Run menu, then, we will need to choose the Start Debugging option (hotkey F5) and choose the target of the run. In this case, we chose Chrome.

In addition, we can also choose the device to run on the Dart extension in the bottom of the Visual Studio Code window (in this case, we have Chrome).

This is the result:
Step 6: Create the Windows app
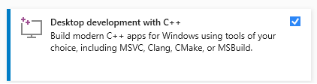
This is another “magic” trick. To create a Windows app, we will also need to have Visual Studio 19 installed on our PC.
Visual Studio 19 must have installed the Desktop development with C++ components.
To enable Windows desktop apps to build, we will need to run the flutter config — enable-windows-desktop on a Terminal Window.
The result will be something like this:

It is advisable to restart Visual Studio Code after this step.
As we did for the Web App, we will need to access a Terminal Window and run the flutter create . command (don’t forget the . (dot) on the command as it relates to the current folder).
The result will be something like this:
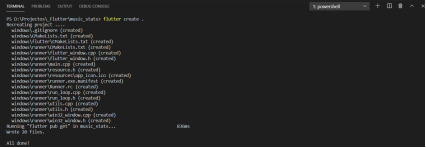
And in our project, we will see a new folder named windows. This folder contains the needed files to build and run a Windows desktop app.
To run and debug the Windows desktop app, we will need to open a Terminal Window and run the flutter run -d Windows command.
The build process will start.
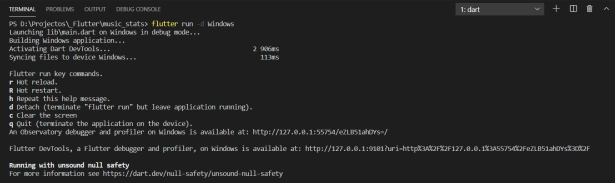
And we will get a result like this:
Let’s take some time to think about this
As we saw, these operations are simple.
With Flutter, we can use “One code to rule them all” applied to a variety of application types. With these new features, we have no limits, so we should keep coding and enjoy.
If you are new to Flutter 2.0 I hope you have found this article useful.
I am currently working at Runtime Revolution. We are a team of developers that work from sunny Lisbon, Portugal, and New York City to everywhere.
We focus on delivering and maintaining the best possible products to our clients, while having fun, learning and helping each other.